
Disclosure: this guide contains affiliate links to Hostinger. If you buy hosting through them, TechPater may earn a commission at no extra cost to you. We only recommend Hostinger because our own website, techpater.com, runs on it.
Want to build a professional WordPress website without hiring a developer? In this step-by-step guide, we show you exactly how to build a WordPress website on Hostinger, from choosing a plan and a domain name to installing WordPress, adding the right plugins and launching a fast, secure site.
This is not a theory article. It is the same process and the same tools we used to build techpater.com, which runs on Hostinger with WordPress, the Astra theme and Elementor.
- What you need before you start
- Choose a Hostinger hosting plan
- Pick and register your domain name
- Install WordPress
- Turn on SSL (HTTPS)
- Choose a theme and page builder
- Install the essential plugins
- Create your key pages
- Make it fast and secure
- Set up SEO before you launch
- Run a launch checklist
- Common mistakes to avoid
- FAQ
What you need before you start
Building a WordPress website on Hostinger is easier when you have these ready:
- A domain name idea: two or three options, in case your first choice is taken.
- Your logo and brand colours: even a simple logo makes the site look finished.
- Your content: a short description of your business, your services, contact details and a few good photos.
- Time: the technical setup takes about an hour. Designing the pages and writing content usually takes much longer.
If you are still planning what the site should do, read our guide to planning an effective website first.
Step 1: Choose a Hostinger hosting plan

Your hosting plan is where your website lives. Hostinger offers shared web hosting, cloud hosting and VPS plans. For a typical small business website, a shared web hosting plan that supports WordPress is enough to start, and you can upgrade later as your traffic grows.
When you compare plans, check:
- How many websites the plan allows, if you might add a second site later.
- Daily or weekly backups, so you can restore your site if something goes wrong.
- Free SSL and a free domain, which some annual plans include. Check the current offer on the checkout page.
- The data centre location. During setup, choose the server location closest to most of your customers. A closer server usually means a faster site.
Plans and prices change often, so always confirm the details on Hostinger’s website before you buy.
Step 2: Pick and register your domain name
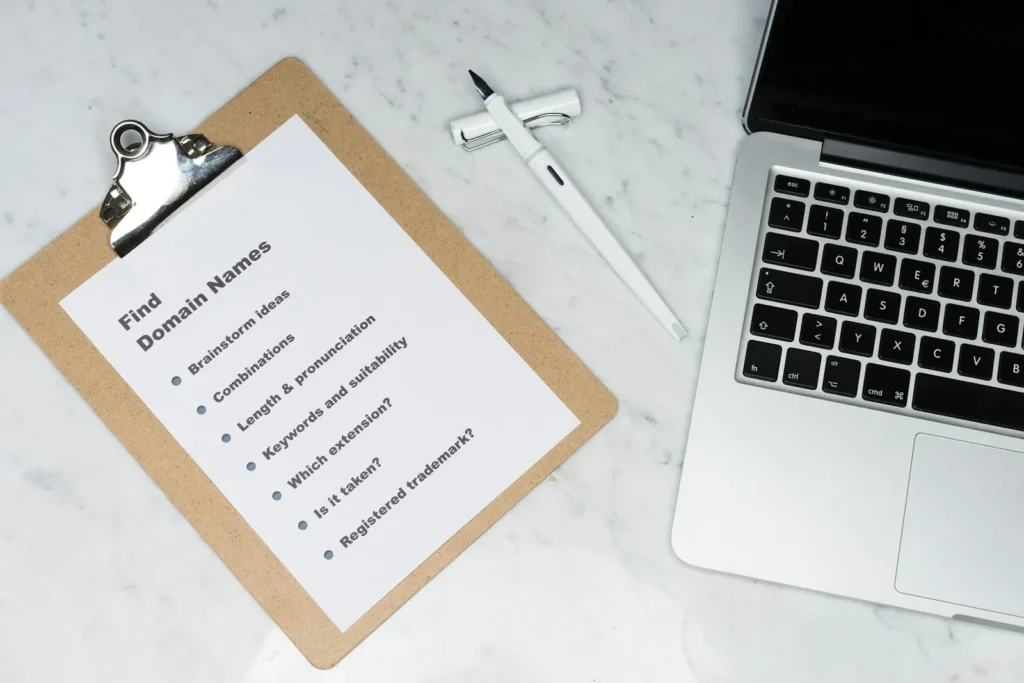
Your domain name is your address online, such as techpater.com. A good domain name is:
- Short and easy to spell when someone hears it said out loud.
- Close to your business name, so customers can find you.
- Free of hyphens and numbers, which people often get wrong.
For Australian businesses, a .com.au domain builds local trust. Keep in mind that .com.au domains have eligibility rules, such as having an ABN. A .com works well if you serve customers in several countries.
You can register a domain during the Hostinger checkout, or connect a domain you already own from another registrar.
Step 3: Install WordPress
After you buy a plan, Hostinger guides you through setup in its control panel, called hPanel. When it asks what you want to build, choose WordPress, and it installs WordPress for you. You do not need to upload any files.
During installation:
- Choose a unique admin username. Avoid “admin”, which attackers guess first.
- Use a strong password and save it in a password manager.
- Use an email address you check, because WordPress sends important notices there.
When installation finishes, you can log in to your WordPress dashboard at yourdomain.com/wp-admin.
Step 4: Turn on SSL (HTTPS)
SSL encrypts the connection between your website and your visitors and shows the padlock in the browser. Google also uses HTTPS as a ranking signal, and browsers warn visitors about sites without it.
In hPanel, check that SSL is active for your domain, and that HTTP visits redirect to HTTPS. Then visit your site and confirm the padlock appears on every page.
Step 5: Choose a theme and page builder
Your theme controls how your website looks. For business websites, choose a lightweight, well-supported theme that loads fast and works on phones.
What we use: techpater.com uses the Astra theme with the free version of Elementor, a drag-and-drop page builder. Astra is light and fast, and Elementor lets you design pages visually without writing code.
To install a theme, go to Appearance → Themes → Add New in your WordPress dashboard, search for the theme and click Install, then Activate.
Step 6: Install the essential plugins
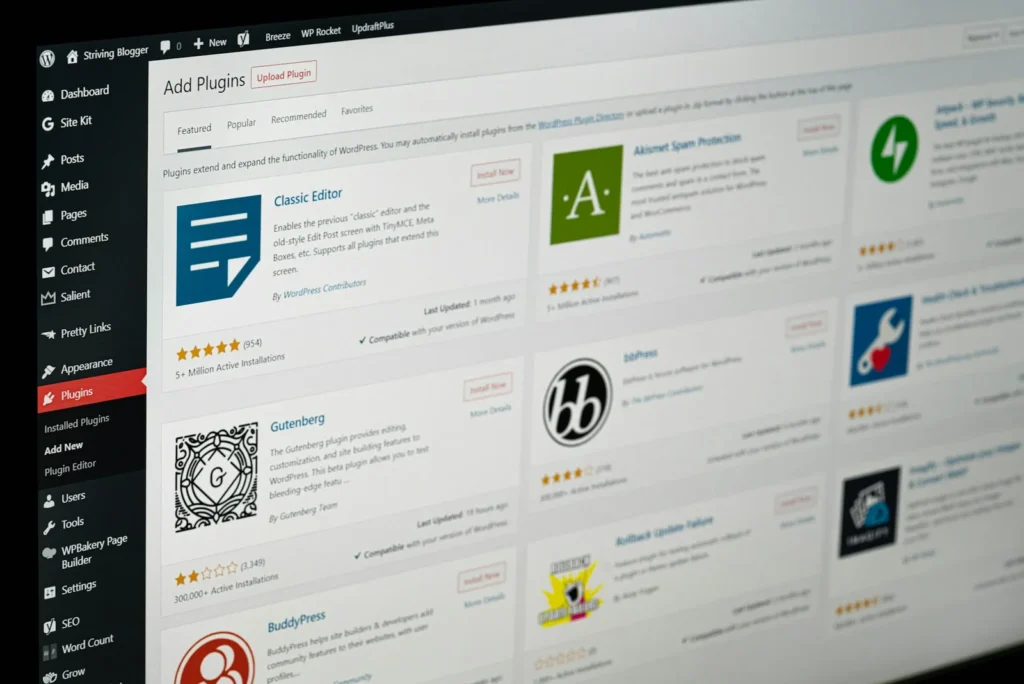
Plugins add features to WordPress. Install only what you need, because every extra plugin adds weight and something else to keep updated. These are the plugins we rely on:
| Job | Plugin we use | Why |
|---|---|---|
| SEO | Yoast SEO | Page titles, meta descriptions, XML sitemaps and schema. |
| Contact forms | Contact Form 7 | Simple, reliable enquiry forms that email you. |
| Speed and caching | WP Rocket (paid), or LiteSpeed Cache (free) | Caching, file minification and lazy-loading images. Hostinger’s servers support LiteSpeed caching. |
| Page design | Elementor | Drag-and-drop page building. |
| Header and footer | Header Footer Elementor | Design your header and footer with Elementor on the free plan. |
Use one caching plugin only. Two caching plugins at once often conflict and can break your site.
Step 7: Create your key pages
Most small business websites need these pages:
- Home: what you do, who you help and one clear call to action.
- Services: a section or page for each service, written around what customers search for.
- About: your story, experience and why customers should trust you.
- Contact: a form, your email, phone or WhatsApp, and your opening hours.
- Privacy policy: required if you collect any personal information through forms.
- Blog: optional, but one of the best ways to rank for more searches over time.
Write each page for your customer, not for yourself. Explain the problem you solve, how you solve it and what the next step is.
Step 8: Make it fast and secure
A slow website loses visitors and rankings. On techpater.com, these steps keep the server response time at roughly 0.4 to 0.6 seconds:
- Caching: WP Rocket serves ready-made pages instead of building each page on every visit.
- Modern images: we convert photos to WebP and resize them before uploading, which keeps most images under 150 KB.
- Lazy-loading: images further down the page only load when the visitor scrolls to them.
- A CDN: Hostinger’s CDN serves files from servers closer to your visitors.
For security, keep WordPress, your theme and plugins updated, use strong passwords, and keep regular backups. Our guide on how to maintain a website covers this in more detail.
Step 9: Set up SEO before you launch
A new website will not rank on its own. Before you launch:
- Write a unique SEO title and meta description for every page in Yoast SEO.
- Use one H1 per page that includes the main keyword for that page.
- Add alt text to every image, describing what the image shows.
- Submit your sitemap to Google Search Console (Yoast creates it at
/sitemap_index.xml). - Set up your Google Business Profile if you serve local customers.
Want help ranking? Our organic SEO services and local SEO Sydney services take care of this for you.
Step 10: Run a launch checklist

- Check every page on a phone, a tablet and a desktop.
- Send a test message through every form and confirm it arrives.
- Click every link and button, including the menu and footer.
- Confirm the padlock (HTTPS) shows on every page.
- Make sure search engines can see your site: in WordPress, go to Settings → Reading and check that “Discourage search engines” is not ticked.
- Take a full backup before you announce the launch.
Common mistakes to avoid
- Installing too many plugins. Each one slows the site and adds risk.
- Uploading huge photos straight from a phone or camera without resizing them.
- Skipping backups until something breaks.
- Copying text from other websites. Google ranks original content, and copied text can hurt your rankings.
- Forgetting mobile visitors, who are often the majority.
Prefer us to build it for you?
Building a website yourself is a great way to learn, but it takes time. TechPater designs fast, mobile-friendly WordPress websites, and every package includes a free logo, domain and hosting.
Frequently asked questions
Is Hostinger good for WordPress websites?
Yes. Hostinger offers plans built for WordPress, a guided WordPress installer, free SSL and LiteSpeed-based caching. Our own website, techpater.com, runs on Hostinger with WordPress.
Do I need coding skills to build a WordPress website on Hostinger?
No. Hostinger installs WordPress for you, and a page builder such as Elementor lets you design pages by dragging and dropping. Basic computer skills are enough to get started.
How long does it take to build a WordPress website?
The technical setup takes about an hour. Designing the pages and writing good content usually takes a few days to a few weeks, depending on the size of the site.
Can I move my existing website to Hostinger?
Yes. Hostinger provides tools and support for migrating an existing website. Check what your plan includes before you start, and always take a full backup first.
Is Hostinger a good choice for Australian businesses?
It can be. During setup, choose the server location closest to your customers, then test your website’s speed after launch. A closer server and good caching usually give the best results.